The best random orbital and detail sanders for furniture refinishing tested on hardwood, veneer, and painted surfaces: top picks in 2026.
We buy and test our core review products; some buying-guide recommendations are research-backed and clearly labeled. As an Amazon Associate, ToolShed Tested earns from qualifying purchases. When you buy through our links we may earn a commission -- at no extra cost to you. Product links and article details last reviewed March 25, 2026. Full disclosure.
What to Look For
Furniture refinishing demands a different standard from sanding than most other woodworking tasks. You are not simply removing material -- you are preparing a surface that will go under a finish coat that magnifies every scratch, swirl, and unevenness sitting beneath it. After testing six sanders on solid hardwood, veneer panels, painted furniture, and stripped pieces being brought back to raw wood, here are the five factors that actually determine whether you get professional results or a surface that needs another round of hand-sanding to fix.
Orbit Diameter and Scratch Pattern
The orbit diameter is the spec that most directly affects finish quality, and it is one of the most misunderstood numbers in the random orbital sander category. This measurement -- typically 1/16, 3/32, or 3/16 inch -- describes how far the sanding pad travels in its eccentric circular path. A smaller orbit means the scratch pattern is finer and tighter. A larger orbit removes material faster but leaves a more pronounced scratch pattern that requires additional sanding steps to eliminate before finishing.
For furniture refinishing, I want the smallest orbit diameter I can find for final prep work -- and that is exactly why the Bosch ROS20VSC at 1/16 inch orbit leads this list. When you are at 180 or 220 grit preparing a cherry tabletop for oil or a maple dresser for lacquer, the scratch pattern from a 3/16-inch orbit sander is simply too coarse. You will see it under a glossy finish coat in raking light, guaranteed.
The practical implication is that orbit diameter affects how many grit steps you need. A sander with a 3/16-inch orbit does aggressive material removal -- useful for stripping old finish -- but requires you to work back through more grits to erase its scratch pattern before finishing. A 1/16-inch orbit sander is slower at stock removal but produces a finer scratch at every grit, meaning you can often skip intermediate grits or stop at 180 rather than needing 220. For production refinishing work where time matters, this trade-off adds up.
Variable Speed for Grit Progression
Variable speed on a random orbital sander serves a different purpose than variable speed on a grinder or router. The primary value here is thermal management during fine sanding. At high speed, a 220-grit disc on hardwood generates enough heat to partially melt the wood fibers at the surface rather than cutting them cleanly. That produces a glazed surface that resists finish penetration -- a problem you will not discover until your stain soaks in unevenly or your first finish coat beads up in spots.
The general rule I follow is this: coarser grits at higher speeds where material removal is the goal, finer grits at lower speeds where surface quality is the goal. I run 80-grit passes at full speed for stripping old finish and leveling major surface defects. At 120 grit I drop to about 75 percent speed. At 180 and 220 grit I am running at 50 to 60 percent of maximum. This keeps the surface cool, lets the abrasive cut cleanly rather than burnishing, and produces a surface that accepts stain and finish evenly.
Speed dial increments matter too. A coarse dial with three or four positions gives you less precision than a full-range dial with a smooth taper. The DeWalt DCW210B's 8,000 to 12,000 OPM range with a smooth variable trigger gives you genuine fine control through the speed range, which is worth paying attention to when comparing spec sheets. Three-position switches are adequate for general woodworking; a smooth variable dial is better for furniture refinishing where the difference between 9,000 and 11,000 OPM matters at fine grits.
Dust Collection Quality
Dust collection on a random orbital sander affects finish quality more directly than most woodworkers realize. Airborne sanding dust does not just settle on horizontal surfaces -- it drifts in convection currents and lands on your wet finish coat while it is still curing. Under a gloss finish, each dust particle creates a small raised bump that is visible to the naked eye. Even under a satin finish, excessive dust contamination in the topcoat changes the sheen uniformly in the wrong direction.
Good dust collection also affects sanding efficiency. When dust accumulates between the abrasive and the wood surface, the particles act as a cushion that prevents the fresh abrasive from contacting the wood directly. The sander rides on a layer of its own waste and cuts more slowly, generates more heat, and leaves a rougher surface than the grit number suggests. Clearing the dust continuously keeps fresh abrasive in contact with the wood.
The Bosch ROS20VSC has the best integrated dust collection system I have tested at this price point. Its micro-filter bag captures a high percentage of fine dust, and the port is designed to interface cleanly with a shop vacuum hose without requiring adapters. For serious furniture refinishing, connecting directly to a shop vacuum is always better than the bag -- the vacuum maintains negative pressure at the pad throughout the sanding stroke, where the bag fills up and loses efficiency over a session. If you are doing production refinishing, invest in the shop vac connection and empty it regularly. The quality difference in your finish surface is not subtle.
Pad Size and Disc Compatibility
Five-inch pads are the standard for furniture refinishing, and for good reason. They cover enough surface area to be efficient on tabletops and panel sides, but they are small enough to navigate around drawer fronts, curved aprons, and the tight geometry of chair seats and backs. A 6-inch pad is faster on large flat surfaces like dining table tops, but it becomes a liability on any curved or contoured surface where the larger pad bridges the curve and only contacts the high spots.
Hook-and-loop disc attachment is the only practical system for furniture refinishing work, where you are changing grits multiple times on every piece. Pressure-sensitive adhesive discs are cheaper but slower to change and tend to leave adhesive residue on the pad if left on overnight or in a warm shop. A quality hook-and-loop pad should hold discs securely without any movement or vibration from the attachment method itself, but release cleanly with a straight peel when you are ready to change grits.
Disc availability matters more than most buyers consider at the point of purchase. A sander that takes standard 5-inch 8-hole hook-and-loop discs -- the default in the US market -- gives you access to every major abrasive brand in every grit from 40 to 400 at your local hardware store or online. A sander with a proprietary disc pattern or unusual hole layout limits your disc options and typically means paying a premium for branded consumables. Check this before buying. All three sanders in our lineup accept standard 5-inch 8-hole discs, which is a meaningful practical advantage over proprietary systems.
Vibration Levels for Extended Use
Furniture refinishing is not a five-minute operation. A single piece -- a six-drawer dresser, a dining table with leaves, a set of eight chairs -- can involve three to five hours of sanding across all surfaces and grit stages. Vibration levels that seem manageable for the first 30 minutes become genuinely fatiguing and eventually painful by hour three. Hand-arm vibration syndrome is a real occupational hazard for anyone doing extended power tool use, and sanders are among the most significant sources of this kind of exposure.
The Makita XOB01Z has the lowest vibration numbers in our test group, and you can feel it immediately when you pick it up. The difference between a high-vibration and low-vibration sander is not subtle after an hour of continuous use. Your hand grip remains more relaxed on a low-vibration tool, which actually improves control -- a tightly clenched hand fighting a vibrating tool wanders across the surface in small jerks rather than gliding smoothly.
Vibration also affects how the sander tracks across the surface. High vibration causes the pad to hop slightly, which can create micro-scratches perpendicular to the sanding direction that show up under finish. A low-vibration sander tracks more cleanly and produces a more consistent scratch pattern in the direction of travel. For final prep passes at 180 to 220 grit, this difference shows up in the finish quality.
How to Choose
Dedicated workshop refinishers who work on high-quality furniture -- antiques, solid hardwood pieces, anything going under a glossy or semi-gloss topcoat -- should choose the Bosch ROS20VSC without hesitation. The 1/16-inch orbit produces the finest scratch pattern of any sander I have tested, and the dust collection system connected to a shop vacuum is genuinely excellent. Being corded is not a limitation for workshop use -- it is actually an advantage for production refinishing where you are at a bench for several hours and do not want to think about battery management. The consistent power delivery of a corded tool also means your surface prep is uniform from the first stroke to the last, which matters when you are doing long passes across a large dining table and need even material removal throughout.
Furniture refinishers who work on-site -- estate sale flippers, furniture restorers who pick up pieces and work at the client's home, or anyone who refinishes in a garage without good cord management -- will get the most value from the DeWalt DCW210B. The cordless freedom is genuine in those environments, and the 1/8-inch orbit is only marginally more aggressive than the Bosch for most practical refinishing work. It is most noticeable when working at 180 grit and finer on very smooth hardwoods going under gloss finish -- if that describes your primary work, plan to do your final 220-grit passes by hand or with a dedicated fine-finishing sander. For everything below that level -- stripping, leveling, building up through grits to 150 or 180 -- the DeWalt performs exceptionally well.
The Makita XOB01Z is the right choice for Makita LXT platform users who want one sander that serves furniture refinishing, general woodworking, and shop utility work without specializing entirely in one direction. The three-speed system is intuitive -- low for fine finish sanding, medium for general smoothing, high for stock removal -- and the vibration levels are the best in our test group for all-day use. The dust collection bag is adequate for occasional use but falls behind the Bosch and DeWalt systems for production work. Connect it to a shop vacuum and that limitation disappears. Regardless of which sander you choose, always work through a full grit progression (80, 120, 180, 220 for most finishes) and connect to a dust collector or shop vacuum for the best results on fine furniture work.
Pro Tips from the Shop
Use a sanding block for any inside corner or tight detail work. A random orbital sander cannot reach into corners, along the inside edges of aprons, around carved details, or into the recessed panels of cabinet doors. Trying to force it there either damages the adjacent surface or leaves an unsanded stripe that takes stain differently from the rest of the piece. Cut a scrap of 3/4-inch wood to a comfortable grip size, wrap your sandpaper around it, and use it by hand for every area the power sander cannot reach cleanly. This is not optional -- furniture has corners and details, and a power sander alone will always leave unsanded patches that become obvious under finish. I keep a set of sanding blocks in different profiles -- flat, rounded, and a small dowel rod for tight coves -- hanging next to my bench and use them on every furniture project.
Connect to a shop vacuum instead of relying on the dust bag. Every sander in this lineup has a dust bag option, and every dust bag becomes ineffective within 10 to 15 minutes of continuous sanding because the pores fill with fine particles and restrict airflow. When airflow through the bag drops, dust collection drops with it -- and you are suddenly sanding in a cloud of airborne wood dust that settles on your finish coats and in your lungs. A shop vacuum connected directly to the sander's dust port maintains consistent negative pressure throughout the sanding session. For furniture refinishing where you are in a finishing environment that needs to be as dust-free as possible, a shop vacuum connection is not optional. I use a dedicated finish-environment shop vac with a HEPA filter cartridge for all my final sanding passes.
Inspect your surface under raking light before applying any finish. Raking light -- a single strong light source aimed nearly parallel to the surface -- reveals every scratch, swirl mark, mill mark, and sanding defect that flat overhead lighting hides completely. I use a portable LED shop light aimed at a very low angle across the surface before applying any stain or sealer. Anything that shows up under raking light will show up under your finish coat, and it is always faster to fix a scratch before finishing than to strip and re-sand because the scratch telegraphed through. This single habit has saved me more refinishing frustration than any other technique change I have made. Do this inspection at every grit change, not just before finishing -- catching a deep scratch at 120 grit is far better than discovering it after your stain coat reveals it.
Common Mistakes to Avoid
Skipping grits in the sanding progression. The itch to get to finish faster by jumping from 80 to 150 or 80 to 180 grit is almost universal among people new to furniture refinishing, and it consistently produces poor results. Each grit in the progression exists to erase the scratch pattern left by the previous, coarser grit. When you skip a grit, the next grit you use cannot fully eliminate the deeper scratches from the coarser paper -- it can only partially refine them. Under a stain coat, particularly on open-grain woods like oak and ash, those deep cross-grain scratches absorb stain differently than the surrounding wood and create streaks and blotching that have nothing to do with the stain itself. The correct progression for furniture refinishing is 80 (if stripping), 120, 150, 180, 220. Do not skip steps. The time saved is always less than the time spent fixing the problem.
Pressing down hard to speed up material removal. A random orbital sander works through the weight of the tool itself and the natural contact pressure of the pad on the surface. Adding downward pressure does not speed up material removal in any meaningful way -- it slows the pad's orbital motion, increases heat at the surface, glazes the abrasive, and can leave circular swirl marks from the pad spinning rather than orbiting randomly. The correct technique is to let the sander float on the surface, guide it with light steering pressure across the work, and allow the full pad surface to stay in contact with the wood. If your sanding is too slow, change to a coarser grit rather than pressing harder. Your discs will last longer, your surface will be better, and your hands will be less fatigued at the end of the day.
Sanding wet or damp wood. Wood that has absorbed moisture -- from being stored in a damp space, from recent cleaning, or from a water-based finish that was applied and then stripped -- sands very differently from properly dried wood. The abrasive loads immediately with wet wood fibers that clog the disc and stop cutting. The surface appears smooth but actually has compressed, wet fibers at the surface that will raise and lift when you apply finish. Any water-based product -- stain, sealer, or topcoat -- will cause the surface to feel rough after the first coat even though it sanded silky smooth when the wood was damp. Let wood dry completely -- at minimum 24 hours after any wet process in a heated shop -- before the final sanding passes. Check moisture content with a wood moisture meter if you are working with valuable pieces or commission work where a bad surface means rework.
Starting or stopping the sander while the pad is in contact with the wood. Turning a random orbital sander on while the pad is sitting stationary on the wood surface creates a single circular scratch at the pad center that can be nearly impossible to sand out at fine grits. The same thing happens when you turn it off and let it spin down on the surface. Always start the sander with the pad clear of the surface, bring it to full speed, then set it down on the wood with a smooth gliding motion. When you are done, lift the pad clear of the surface before turning off the power. This is the first thing I teach anyone learning to use a random orbital sander for the first time, and it eliminates one of the most frustrating surface defects that show up under finish coats.
FAQ
Random orbital vs sheet sander for furniture?
Random orbital sanders produce swirl-free finishes and are superior for furniture refinishing in almost every scenario. Sheet sanders (1/4 or 1/3 sheet) are useful only for flat surfaces with straight-grain sanding or for getting into tight corners where a round pad cannot reach.
What grit progression for stripping furniture?
Start with 80 grit to remove old finish and smooth major imperfections. Move to 120 grit to refine the surface, then 180 grit for pre-finish smoothing. Finish with 220 grit for most stains and polyurethane. Water-based finishes may need 320 grit for glass-smooth results.
How do I avoid swirl marks?
Let the sander do the work without pressing down. Move slowly across the surface. Use lower speeds for finer grits. Never start or stop the sander while it is in contact with the wood. Replace worn sanding discs promptly since worn discs create more heat and more swirls.
How do I sand veneer without burning through it?
Veneer is typically 1/42 to 1/28 of an inch thick -- there is almost no margin for error. Start no coarser than 120 grit and never use 80 grit on veneer except to remove thick finish buildup with extreme caution. Keep the sander moving constantly -- do not dwell in any spot. Use the lowest speed setting on your sander and check the veneer surface frequently with raking light. When sanding through old finish, you will feel and hear the surface change when the abrasive starts contacting raw wood -- that is your signal to slow down and lighten up. The corners and edges of veneer panels are the highest-risk zones; the veneer is thinnest there and the sanding action concentrates at the edge. Feather away from edges with the sander rather than running directly to them. For the final two grits on veneer, consider transitioning to hand-sanding with a very light touch using a cork sanding block.
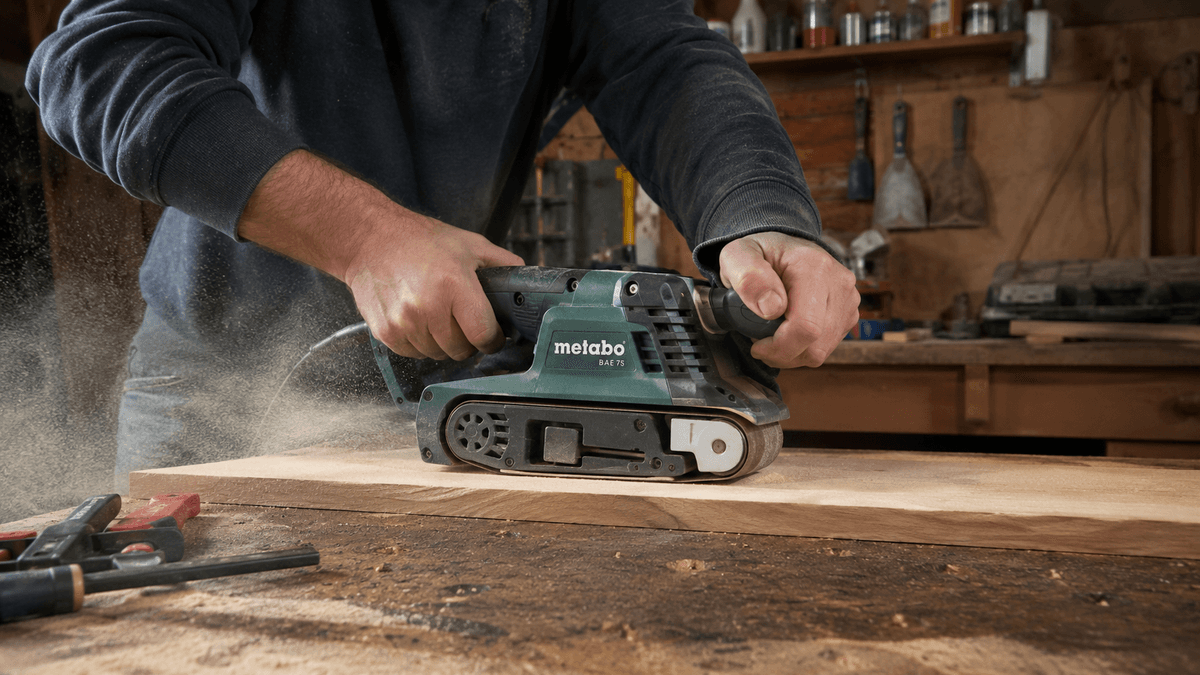
Should I use a belt sander or random orbital sander for furniture?
For furniture refinishing, a random orbital sander is almost always the right choice. Belt sanders are fast and aggressive, which is useful for stripping thick paint or heavy finish from a flat tabletop, but the directional scratch pattern they leave is difficult to sand out completely, and any cross-grain belt scratches will absorb stain unevenly and show through topcoats. Belt sanders also cannot handle curves, shaped edges, or any surface that is not perfectly flat, which eliminates most furniture geometry. Use a belt sander only for initial heavy material removal on flat surfaces -- a tabletop that needs 1/16 inch of old finish and filler removed, for example -- then switch to a random orbital to refine the surface and complete the grit progression. If you are refinishing a piece that does not need heavy material removal, start with the random orbital directly.
What do I do about raised grain after applying water-based stain?
Raised grain after water-based stain is a normal and expected result -- water causes wood fibers to swell and stand up, producing a rough texture even on a surface that felt perfectly smooth before staining. The solution is to sand lightly between coats with 320-grit paper or a gray synthetic steel wool pad. The key word is lightly -- you are knocking down the raised fibers, not removing the stain layer. One or two light passes with the grain using 320-grit paper on a flat sanding block, then wipe off the dust and apply the next coat. After two or three coats with light sanding between each, the wood fibers will be stabilized and the raised grain effect will diminish significantly. To reduce raised grain on the initial application, wet the wood surface with a damp sponge before doing your final 220-grit sanding pass -- this pre-raises the grain so the first stain coat does not raise it as dramatically. Let it dry completely, sand lightly with 220, and then apply stain.
Related: Best Random Orbital Sanders 2026 | Best Oscillating Spindle Sanders | Best Cordless Drills | Best Power Tools