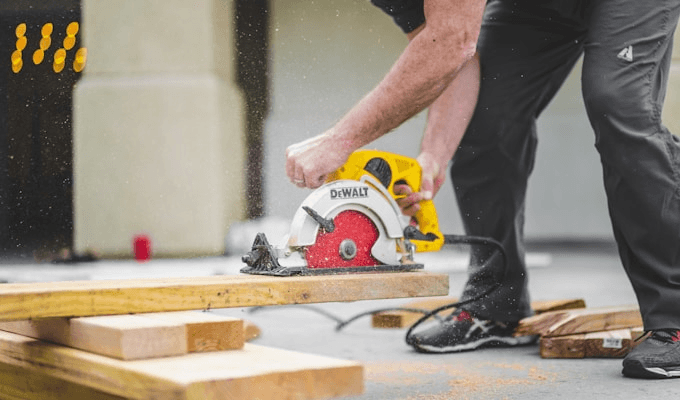
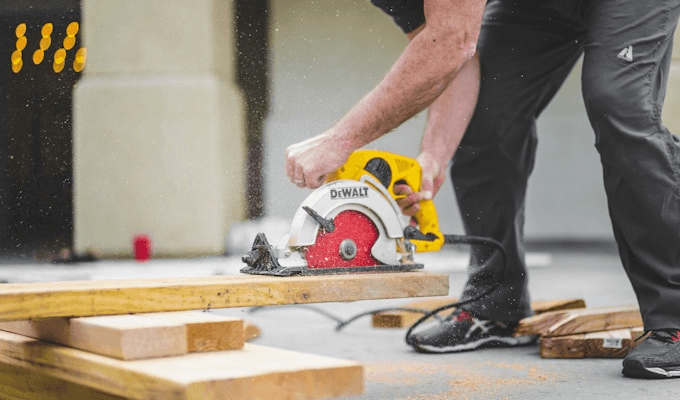
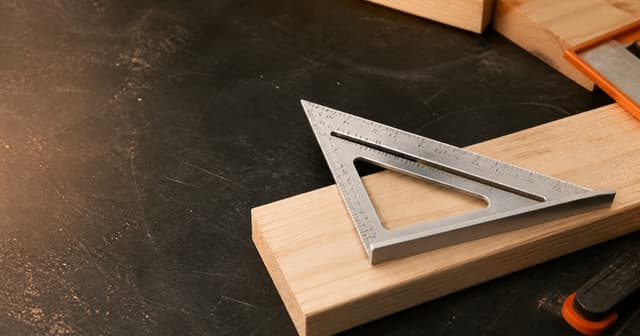
When you're laying out roof rafters, cutting plumb lines on studs, or checking wall angles on a jobsite, a speed square becomes one of your most reach-for tools.
Current recommendations are research-backed. Each article identifies its evidence, sources, update date, and limitations. No current guide is presented as hands-on tested. As an Amazon Associate, ToolShed Tested earns from qualifying purchases. When you buy through our links we may earn a commission -- at no extra cost to you. Product links and article details last reviewed August 11, 2026. Full disclosure.
When you're laying out roof rafters, cutting plumb lines on studs, or checking wall angles on a jobsite, a speed square becomes one of your most reach-for tools. For framers, the right speed square isn't just about convenience—it's about accuracy, durability, and speed. A quality speed square can mean the difference between consistently square walls and frustrating rework that wastes time and material.
This guide breaks down what makes the best speed squares for framing carpentry work, how to choose the right one for your needs, and which models deliver real value whether you're a professional contractor or a serious DIY enthusiast tackling major structural work.
What Is a Speed Square and Why Framers Depend on It
A speed square—also called a rafter square or framing square—is a compact triangular measuring tool designed to mark angles, check squareness, and transfer measurements quickly on lumber. Unlike a full-size framing square, a speed square fits in your tool belt and handles 80% of the angle work framers encounter daily.
Speed squares excel at:
- Marking plumb cuts on rafters and studs (the 45° and common roof pitch angles)
- Checking for square on walls and framing assemblies
- Establishing level and plumb without a separate level
- Transferring angles from plans to timber
- Quick reference marks during layout
For professional framers, a speed square isn't optional—it's core equipment. The tool cuts setup time and reduces measuring errors that compound across an entire structure.
Key Features to Look For in a Framing Speed Square
Not all speed squares perform equally on a real framing job. Here's what separates the reliable tools from the frustrating ones.
Material and Weight
The best speed squares for framing use aluminum alloy construction. Aluminum is lightweight (important when you're moving between rafters or climbing walls), corrosion-resistant on damp jobsites, and rigid enough to hold accurate markings without flexing. Cast aluminum or die-cast models tend to be more durable than stamped steel alternatives, which can bend under job stress.
Weight matters: a square that's too heavy (over 12 ounces) becomes a burden when you're holding it one-handed while marking a rafter tail. Conversely, ultra-light models sometimes sacrifice rigidity.
Scale and Measurement Markings
A 7-inch or 7.5-inch blade is the practical framing standard. This size handles most common lumber widths and sits well in a tool belt. The markings should be:
- Deeply laser-etched or stamped, not printed (printed scales fade and wash off)
- High-contrast, preferably white or bright markings on a dark background
- Include common roof pitches, typically marked on the hypotenuse for quick reference
- Dual-scale options (inches on one side, millimeters on the other) if you work in mixed measurement systems
Pivot Point Accuracy
The pivot point (the corner where the blade and fence meet) must be sharp and precise. Rounded or worn pivot points cause sloppy angle transfers. Quality speed squares maintain sharp corners and flat surfaces at the reference edge to prevent rocking on lumber.
Fence Design
The fence (the shorter arm) needs to be:
- Flat and true, lying completely flush against the lumber
- Wide enough to support pencil marking without the tool shifting
- Smooth edges that won't catch or splinter hands during repeated use
Best Speed Squares for Framing: Recommended Models
Swanson Tool is the heritage brand for speed squares, and their original design remains the benchmark. The standard aluminum Swanson offers crisp laser-etched markings, a balanced 7-inch body, and proven accuracy that framers have relied on for decades. At a mid-range price point, it delivers consistent performance without gimmicks.
The markings include common roof pitches printed on the blade and a clear pivot point. It's durable enough for professional daily use while remaining accessible for homeowners tackling a major framing project.
Starrett Speed Square
For builders who prioritize precision, the Starrett speed square brings industrial-grade accuracy to framing layout. Starrett's tools are manufactured to tighter tolerances, and the aluminum construction resists wear. The scale is exceptionally clear, and the fence stays flat after years of jobsite use.
Starrett models cost more than basic alternatives, but they're designed for contractors who measure accuracy in consistency across dozens of projects.
Empire Level Speed Square
Empire Level combines functional design with affordability. Their speed squares offer solid aluminum construction and legible markings at a price that works for occasional framers and tool-rental shops. The 7-inch aluminum blade handles standard framing tasks, and the fence remains square without excessive wear.
Empire's strength is reliability without premium pricing—good for crews that cycle through multiple squares or contractors who prefer to replace rather than repair.
How to Use a Speed Square for Common Framing Tasks
Understanding proper technique extends tool life and ensures accurate layout. Here are the most frequent framing applications:
Marking Plumb Cuts on Rafters
Place the speed square's fence against the rafter, aligning the 12-inch mark (for a 12/12 pitch) with the top edge of the rafter. The blade then sits at the plumb angle. Draw along the blade to mark the vertical cut. This method works for any roof pitch by aligning the appropriate pitch mark.
Checking Wall Squareness
Lay the speed square's fence along one wall and blade along the adjacent wall. If gaps appear between the tool and the lumber, the corner is out of square. For full-wall checks, use the 45° angle to verify diagonal distances.
Transferring Angles from Plans
Place the speed square on your working lumber to match the angle shown in blueprints. The fence and blade create the reference angle; mark along both edges to establish the angle for cutting.
Using as a Straightedge
The blade doubles as a straightedge for marking long cuts or checking lumber for warp. Lay it flat against the surface to identify high spots.
Speed Square Maintenance and Durability
A well-maintained speed square lasts years. Store it flat in a tool bag or pouch to avoid bending (the fence is the most vulnerable area). Aluminum won't rust, but keep it dry to prevent oxidation of markings. If markings fade, touch them up with a white paint pen or permanent marker—accurate reference lines are critical for layout accuracy.
Periodically check the pivot point by sighting along the blade and fence edges. If the corner rounds over or the surfaces no longer sit flat, it's time to replace the square rather than work with an inaccurate reference.
For pure layout speed, a speed square beats a full-size framing square (which is too large for one-handed work) and a carpenter's square (which lacks pitch reference marks). However, serious framers often carry both: a speed square for quick marks and a full framing square for comprehensive rafter layout or setting wall lines.
A digital angle finder adds precision for complex roof angles, but it doesn't replace the speed square's quick reference function. Most framers use them in combination, not as substitutes.
What Budget Should You Expect?
Speed squares range from $8 to $30 depending on brand and material quality:
- Budget models (check current retailer pricing): Basic aluminum, adequate for occasional use, marks fade faster
- Mid-range (check current retailer pricing): Professional-grade aluminum, crisp markings, reliable accuracy
- Premium (check current retailer pricing): Tight tolerances, superior materials, designed for daily professional use
For framing work, mid-range is the practical sweet spot. The upgrade from budget to mid-range yields noticeably better marking durability and accuracy. The jump to premium matters most if you're running a crew and need consistency across multiple squares or if you work in demanding conditions (wet jobsites, high-traffic rental situations).
Final Thoughts on Speed Squares for Framing
The best speed square for framing carpentry combines accurate markings, durable aluminum construction, and a proven design that doesn't overcomplicate the tool. Whether you choose a Swanson, Starrett, or Empire model depends on your budget and use frequency, but any mid-range option from an established brand will serve reliably.
What matters most is treating your speed square as a precision tool, not a rough utility item. Keep it flat, store it protected, and check its accuracy periodically. When you invest in the best speed squares for framing carpentry, you're investing in consistent, square walls and accurate layouts that frame better, finish cleaner, and last longer. On a jobsite where every hour counts, the speed square remains one of the highest-value tools you'll ever carry.